Table of Contents
ToggleSpring cleaning isn’t just about dusting baseboards and washing windows, it’s a full-scale reset of your home’s functionality and comfort. The Cherie Deville approach to spring cleaning has gained traction among homeowners looking for a structured, no-nonsense method that tackles dirt, clutter, and maintenance issues in one focused push. Unlike vague “refresh your space” advice, this system prioritizes deep cleaning tasks that actually improve indoor air quality, extend the life of finishes and fixtures, and eliminate the grime that builds up over months of heating season. Whether you’re a first-time homeowner or a seasoned DIYer, this guide breaks down the supplies, room-by-room tasks, and efficiency hacks you need to complete a thorough spring clean.
Key Takeaways
- The Cherie Deville spring cleaning method is a systematic top-to-bottom approach that targets often-neglected areas like ceiling fans, refrigerator coils, and behind appliances to improve air quality and extend fixture lifespan.
- Spring cleaning supplies should include all-purpose cleaner, degreaser, disinfectant, extension poles, microfiber cloths, and proper PPE—buying concentrated cleaners saves money and reduces plastic waste.
- Work from ceiling to floor in every room, delegate tasks to family members or hire professionals for time-intensive jobs like HVAC duct cleaning, and set realistic time blocks per room to avoid burnout.
- Let cleaning products sit for 5–10 minutes on tough spots to maximize effectiveness, and replace worn filters and tools rather than just cleaning them to maintain efficiency.
- Regular maintenance checks during spring cleaning—such as testing smoke detectors, inspecting caulk, and checking HVAC filter condition—prevent costly repairs and keep your home functioning optimally.
What Is the Cherie Deville Spring Cleaning Method?
The Cherie Deville spring cleaning method is a systematic, top-to-bottom approach that emphasizes deep cleaning over cosmetic touch-ups. It’s built around three core principles: decluttering before cleaning, working from high to low surfaces, and addressing neglected maintenance tasks alongside visible dirt.
Unlike daily or weekly cleaning routines, this method targets areas most homeowners skip, ceiling fan blades, baseboard heaters, refrigerator coils, window tracks, and the space behind appliances. It also incorporates light maintenance checks: testing smoke detectors, inspecting caulk lines in wet areas, checking HVAC filter condition, and tightening loose cabinet hardware.
The method follows a logical sequence. First, remove clutter and items that don’t belong in each room. Second, dust and vacuum from ceiling to floor (cobwebs, light fixtures, vents, then furniture, then baseboards). Third, clean surfaces with appropriate products, non-abrasive cleaners for finished wood, degreasers for kitchen surfaces, disinfectants for bathrooms. Finally, address floors: vacuum or sweep, then mop or scrub as needed.
This isn’t a one-day blitz. Depending on home size and condition, plan for two to four full days of work or spread tasks over two weekends. Homes with pets, high traffic, or deferred maintenance will take longer. If you’re tackling this solo, break it into manageable chunks, one or two rooms per session prevents burnout and keeps quality high.
Essential Supplies for Your Spring Cleaning Project
Gather your supplies before you start. Running out mid-project or making do with the wrong cleaner costs time and results.
Cleaning Agents:
- All-purpose cleaner (pH-neutral for most surfaces)
- Degreaser (kitchen-grade, for range hoods and backsplashes)
- Disinfectant (EPA-registered, for bathrooms and high-touch areas)
- Glass cleaner (ammonia-free if you have tinted windows)
- Wood polish or conditioner (for furniture and trim)
- Grout cleaner and stiff brush
- White vinegar (for mineral deposits and mild odors)
- Baking soda (gentle abrasive for sinks and tubs)
Tools and Equipment:
- Extension pole (8–12 feet, for ceiling fans and high dusting)
- Microfiber cloths (at least a dozen: color-code by room to avoid cross-contamination)
- Vacuum with attachments (crevice tool, upholstery brush, and HEPA filter if you have allergies)
- Mop and bucket (or spray mop system)
- Scrub brushes (various stiffness levels)
- Squeegee (for windows and shower doors)
- Step ladder (6-foot A-frame is standard for most homes)
- Trash bags (both regular and contractor-grade for heavy debris)
Personal Protective Equipment (PPE):
- Nitrile gloves (resist most household chemicals better than latex)
- Safety glasses (especially when cleaning overhead or using sprays)
- N95 respirator or dust mask (for dusty areas like attics or when using strong cleaners)
- Knee pads (if you’re scrubbing floors or baseboards extensively)
Buy concentrated cleaners when possible, you’ll save money and reduce plastic waste. Most all-purpose cleaners dilute at ratios between 1:10 and 1:32, meaning a single quart can yield gallons of working solution.
Room-by-Room Spring Cleaning Checklist
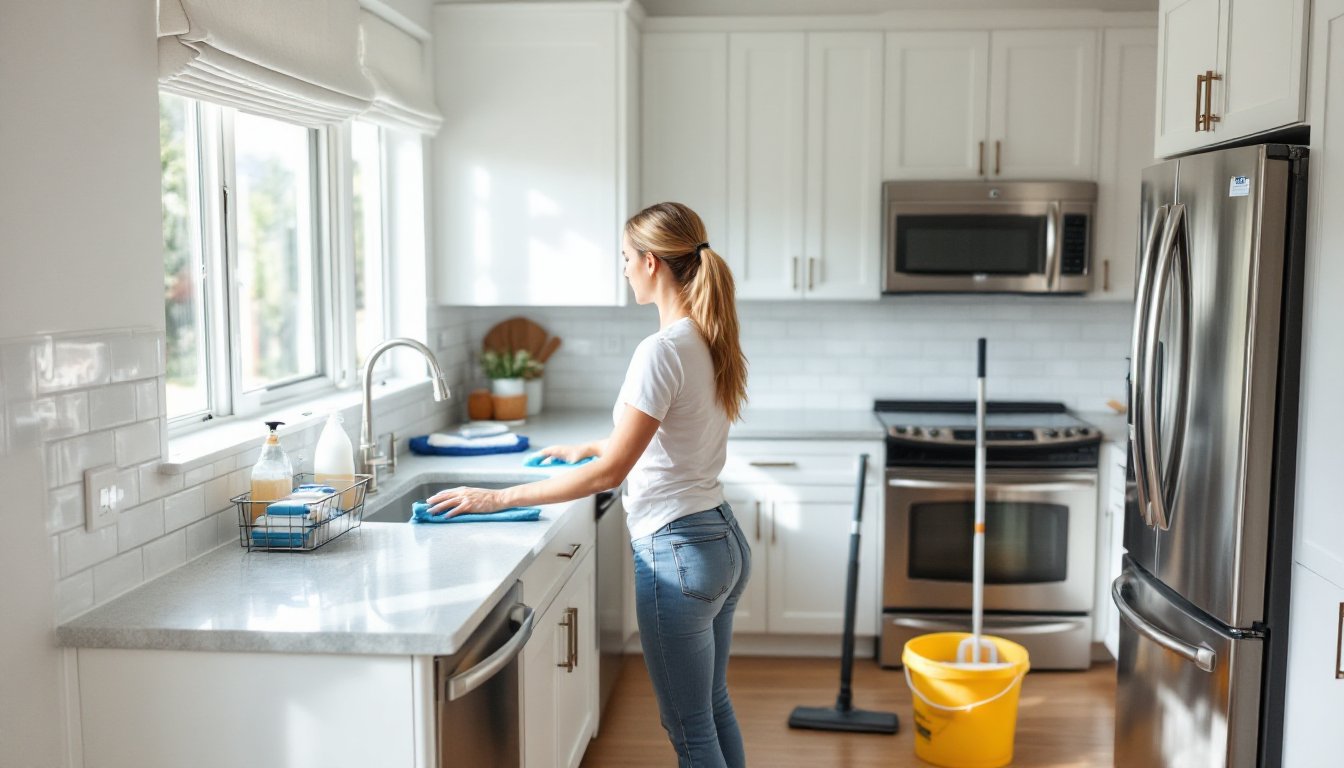
Kitchen and Dining Areas
Kitchens accumulate grease, food residue, and moisture damage faster than any other room. Start by emptying and wiping down all cabinets and drawers, crumbs and spills attract pests and degrade finishes. Check for expired pantry items and discard them.
Pull out the refrigerator and range. Clean the condenser coils on the back or bottom of the fridge using a coil brush or vacuum attachment, dirty coils reduce efficiency by up to 25% and shorten compressor life. Wipe down the range’s sides and the wall behind it. If you have a gas range, remove burner grates and caps, soak them in hot soapy water, then scrub off carbon buildup.
Degrease the range hood and filter. Most mesh filters are dishwasher-safe: baffle filters (common in higher-end hoods) can go in as well. If grease has caked on, soak in a solution of hot water and degreaser for 15–20 minutes first.
Clean inside the oven if it’s not self-cleaning, or run the self-clean cycle and wipe out ash afterward. Check the door gasket for cracks, damaged gaskets leak heat and cost you energy.
Wash the dishwasher by running an empty cycle with a cup of white vinegar on the top rack, then sprinkling baking soda on the bottom and running a short hot cycle. Remove and rinse the filter at the bottom of the tub.
Scrub tile grout with a stiff brush and grout cleaner. If grout is stained or deteriorating, this is the time to re-seal it, most sealers require 24–72 hours to cure, so plan accordingly. The comprehensive room-by-room spring cleaning checklist includes detailed grout care steps if you need more guidance.
Wipe down all cabinet fronts, especially around handles where oils from hands accumulate. Use wood cleaner on real wood: mild all-purpose cleaner works for laminate or painted surfaces.
Finish with floors. Sweep or vacuum thoroughly, getting into toe-kick spaces under cabinets. Mop with a cleaner appropriate for your flooring, tile, vinyl, and sealed hardwood each have different requirements.
Bedrooms and Living Spaces
Bedrooms and living areas collect dust, allergens, and fabric odors. Begin by stripping all bedding and washing it, including mattress pads and pillow protectors. Vacuum the mattress on all sides using the upholstery attachment, then spot-clean any stains with an enzyme cleaner.
Rotate or flip the mattress if the manufacturer recommends it (most modern memory foam and hybrid mattresses should not be flipped, only rotated head-to-foot every six months).
Dust ceiling fans, light fixtures, and crown molding using an extension pole with a microfiber duster or damp cloth. Work from the center of the room outward to avoid re-contaminating cleaned areas.
Remove all items from shelves, wipe the shelves down, and declutter as you replace items. Donate or discard anything you haven’t used in a year.
Vacuum upholstered furniture thoroughly, including under cushions where crumbs and pet hair collect. Check for any loose springs or sagging support, fixing these now prevents bigger repairs later. Cleaning experts at The Spruce recommend steam cleaning upholstery annually if you have pets or allergies.
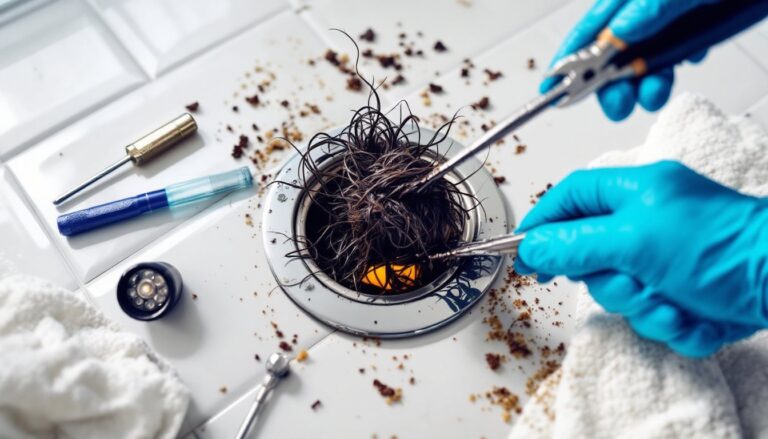
Clean baseboards and window sills with a damp cloth. Use a vacuum crevice tool in the window tracks to remove built-up dirt and dead insects, then wipe with a damp cloth or old toothbrush.
Wash windows inside and out. Use a squeegee for streak-free results, start at the top, pull straight down, and wipe the blade between strokes.
Vacuum or dust window treatments. Many curtains and drapes are machine washable (check tags), but if they’re dry-clean-only or too delicate, use a handheld vacuum or the upholstery brush attachment.
Finish with floors. Vacuum carpets slowly, making multiple passes in high-traffic areas. For hard floors, vacuum or sweep first, then damp-mop. Move furniture to clean underneath, dust bunnies and allergens concentrate in these spaces.
Time-Saving Tips for Efficient Spring Cleaning
Work top to bottom, always. Gravity is your friend. Dust and debris fall as you clean, so starting with ceilings and working down to floors means you won’t re-dirty surfaces.
Use a carry caddy. Keep all your cleaning supplies in a portable tote or bucket. You’ll waste less time walking back and forth for forgotten products or tools.
Set a timer for each room. Allocate a realistic block of time based on room size and condition, 90 minutes for a kitchen, 45 minutes for a bedroom. When the timer goes off, move on. Perfectionism is the enemy of completion.
Delegate or hire help for specific tasks. If you have family members, assign age-appropriate tasks. If budget allows, hire professionals for the most time-intensive jobs like carpet cleaning, window washing, or HVAC duct cleaning. A single-family home HVAC duct cleaning typically runs $300–$500 and takes 2–4 hours, time you can spend on other tasks.
Batch similar tasks. Do all dusting in the entire house before moving to vacuuming, or all window cleaning at once. You’ll stay in the rhythm and work faster.
Let products do the work. Spray cleaner on tough spots and let it sit for 5–10 minutes (or per product instructions) before scrubbing. Degreasers and bathroom cleaners are especially effective when given dwell time. Many expert spring cleaning tips emphasize this step to reduce elbow grease.
Replace, don’t just clean. HVAC filters, refrigerator water filters, and worn-out cleaning tools (frayed mop heads, clogged vacuum filters) cost you time and efficiency. If a filter is washable, clean it: if it’s disposable and dirty, toss it and install a new one.
Check as you clean. Look for maintenance red flags: caulk gaps in showers, loose cabinet hinges, flickering bulbs, or water stains. Fixing small issues now prevents expensive repairs later and often takes just minutes.
Conclusion
Spring cleaning done right is part maintenance inspection, part deep clean, and part reclaiming your home’s comfort. The Cherie Deville method works because it’s systematic and doesn’t skip the hard stuff. Tackle it in focused chunks, use the right tools, and don’t be afraid to call in help for tasks outside your skill set or time budget. Your home will breathe easier, and so will you.