Table of Contents
ToggleEver looked at your contact list and thought, “Wow, these tiny photos need a glow-up”? If so, you’re not alone. Many iPhone users want their friends’ faces to shine like the stars they are—full screen and in all their glory. After all, who wouldn’t want to see Aunt Edna’s smile take over their screen instead of a postage stamp-sized pic?
Understanding Contact Photos on iPhone
Contact photos on an iPhone serve as visual representations of friends and family members. Larger, more vibrant images can enhance user experience, making it easier to recognize loved ones in the address book.
Importance of Full-Screen Photos
Full-screen photos significantly enhance the emotional impact of contact images. Larger images allow for better detail and clarity, making it simple for users to connect with their contacts. Having a clear view of a friend’s face can foster a sense of closeness, even when apart. Recognition becomes effortless, especially in crowded or visually busy environments. Vibrant and engaging images create a warm and inviting feel, ultimately improving overall usage satisfaction.
Setting Expectations for Display
Users may find that iPhone displays contact photos differently across apps. Full-screen photos appear during calls or FaceTime, highlighting the importance of setting them correctly. Always check the image size before saving; larger images generally yield better results. Some contacts may not appear full-screen if the photo resolution is low. Setting expectations can help users select the right photos that showcase their loved ones effectively.
Step-by-Step Guide to Full-Screen Contact Photos
To achieve full-screen contact photos on an iPhone, users must follow a straightforward process. Each step helps enhance the visual experience with larger images.
Accessing the Contacts App
First, users open the Contacts app, which allows access to their entire address book. Tapping on the app icon presents a list of saved contacts. Searching for a specific name is also possible by using the search bar at the top. Once the right contact appears, tapping on the name reveals detailed information, including the option to edit the contact’s photo.
Editing Contact Photos
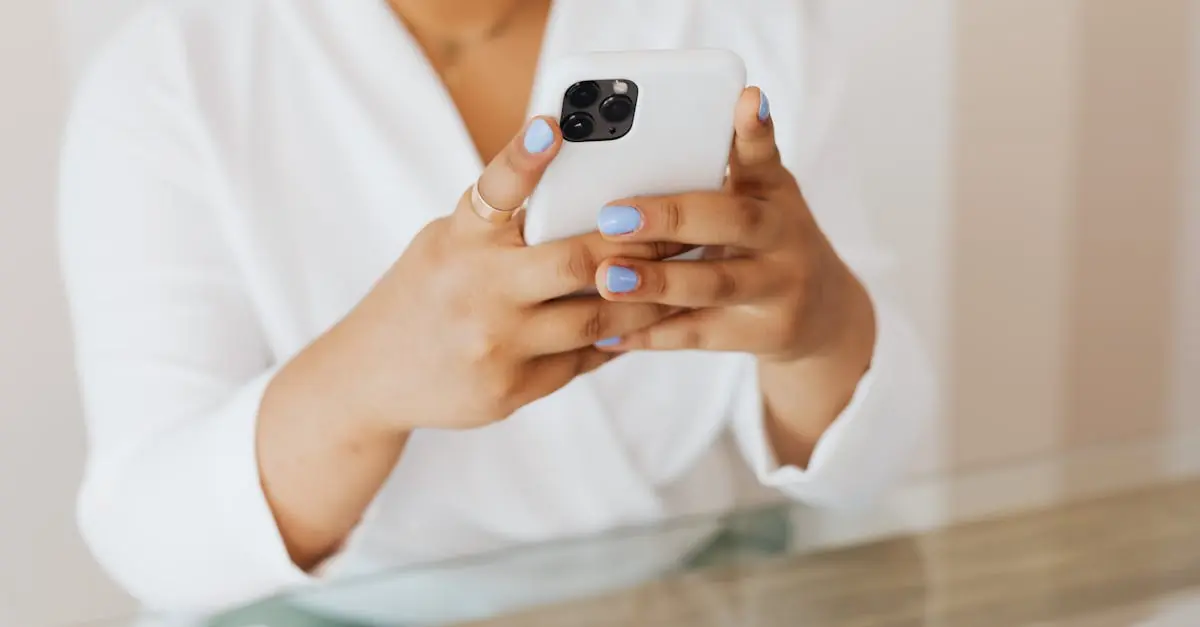
Next, users focus on editing contact photos. Selecting “Edit” in the top right corner enables users to replace an existing picture. Tap the photo icon to access options for adding a new image. Users can choose from the photo library, take a new picture, or even select an emoji. A full-screen image emerges when the selected photo is saved properly, enhancing recognition and connection with the contact.
Adjusting Photo Settings
After selecting the photo, users adjust photo settings to ensure optimal display. Pinching and dragging the image allows users to center the most important parts of the photo. Confirming the adjustments with “Choose” ensures the image fits well. Higher resolution images yield better results, making full-screen photos clear and vibrant. Optimal images contribute to a satisfying user experience during calls or FaceTime sessions.
Tips for a Better Full-Screen Experience
Enhancing full-screen contact photos on an iPhone involves thoughtful selection and optimization techniques. These steps significantly improve visibility and enjoyment.
Choosing the Right Photo
Selecting an appropriate photo can greatly impact the overall experience. Favor high-resolution images that clearly depict the subject. Bright, vibrant colors often attract attention and provide better visibility. To maximize clarity, avoid using images with cluttered backgrounds. Opt for photos where the subject is well-lit and prominently featured. Portraits or close-up shots bring a personal touch and make recognition easier. Whether it’s a family member, friend, or coworker, choosing an engaging image fosters a connection.
Optimizing Image Size
Proper image size contributes to an optimal viewing experience. Aim for photos at least 640 x 640 pixels for best results. Larger images display more details, enhancing clarity and engagement. It’s also wise to crop unnecessary elements to focus on the subject. Before saving, check the aspect ratio to ensure the image fits well in the designated space. Avoid low-resolution images as they may appear pixelated on screen. Adjusting the size and resolution first can lead to a much more satisfying experience during calls or FaceTime.
Common Issues and Troubleshooting
Users sometimes encounter problems with contact photos not displaying in full-screen mode. Low-resolution images tend to shrink down, so selecting high-quality files can alleviate this issue. Centering the image within the editing interface helps ensure that the focus remains sharp. Additionally, using images that meet or exceed 640 x 640 pixels often results in better outcomes. Checking the photo settings beforehand confirms that adjustments made are effective.
App-related issues may also affect the display of contact photos. Inconsistent behavior across different applications can lead to confusion about how images appear. Users can attempt restarting their devices or updating apps to fix existing glitches. Clearing the app cache might help, as cached data sometimes interferes with proper image rendering. If problems persist, deleting and re-syncing contacts can resolve underlying discrepancies.
Enhancing contact photos on an iPhone can transform the way users connect with loved ones. By following the steps to achieve full-screen images, individuals create a more engaging and personal experience during calls or FaceTime.
The emphasis on high-resolution images and thoughtful selection ensures clarity and vibrancy. Users can enjoy a sense of closeness through these visual representations, making interactions feel more intimate.
With the right techniques and troubleshooting tips, anyone can elevate their contact photo game. Embracing these adjustments not only improves visibility but also enriches the overall user experience, making every call a little more special.